Index:


Cars

  • Destickying Lamborghini Parts

    Destickying Lamborghini Parts

    Lamborghini and Ferrari switches and some parts suffer from a condition known as “stickiness”. The issue is caused by a thin layer of rubber applied by the factory for aesthetic reasons — unfortunately, over time the rubber brakes down and becomes very sticky and turns into black goop. This gets all over your hands, and then transfers to the door handles, leather, carbon-fiber, etc. Once there it is really really hard to remove.

    I recently replaced the stereo in my Lamborghini Murcielago Roadster, which required removing most if the interior (basically everything other than the dash itself). While I had it all in pieces I decided to clean / detail all the bits, and remove the stickiness. Here is the process:

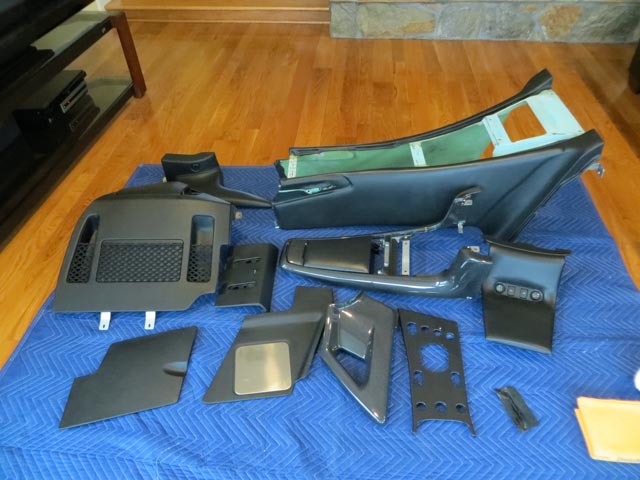
    First off I removed all the interior bits. The original plan was just to remove the carbon-fiber A/C panel and slide the stereo out — unfortunately the bottom lip of the radio sits below the carbon center tunnel cover, so I had to remove that, which in turn required removing the center armrest, which required removing the rear leather panels, which required removing the seatbelts, which required…

    Anyway, I wasn’t expecting to have to remove all this, if I’d known just how much was coming out I’d have started by removing the seats, instead of leaving them till the very end. Once all the bits were out I took them into the house and spent the next day or two cleaning all the leather with Leatherique Prestine Clean and Rejuvinator Oil, and cleaning the carbon fiber with einzett Plastic Deep Cleaner and then a layer of 303 Aerospace Protector. The einzett stuff gives a deep, rich gloss to carbon fiber, and the 303 helps protect it from UV damage.

     Lots of interior bits

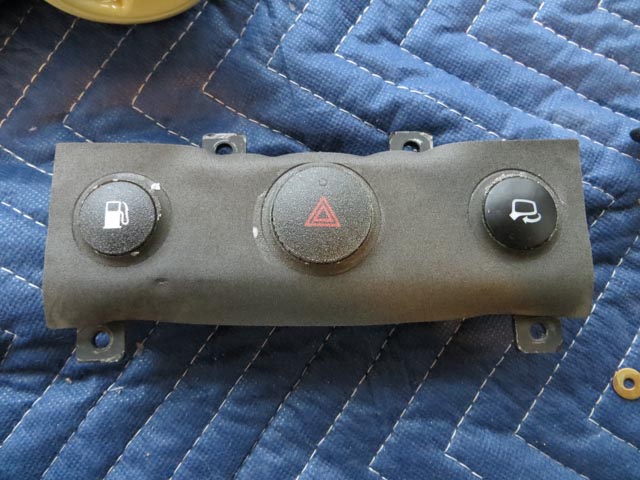
    Once that was done I pulled all the switches from the body pieces. Most of the switch-gear simply screws into the bodywork with allen bolts. There are a number of fiddly washers that act as spacers – the wonders of hand-built Italian cars 😛

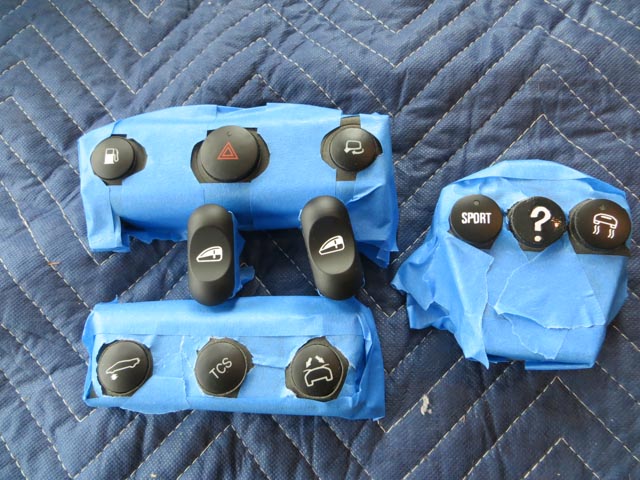
    I tried a number of tricks to remove the sticky rubber layer. There are a huge number of suggestions on the forums, ranging from soaking overnight in Easy-Off Oven cleaner (!) to Simple Green and lots of elbow grease. I tried various option, but by far the best (for me at least) was LA’s Totally Awesome Cleaner, which I picked up a while back at a dollar store!

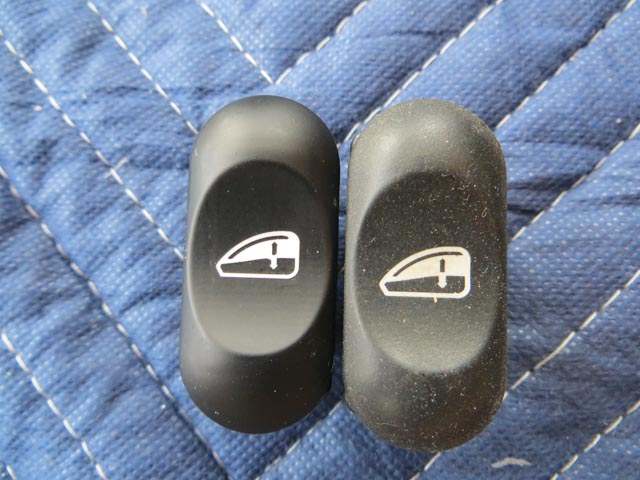
    Here is a treated and an untreated window switch

    After a few hours of removing all the stickiness I decided that I’d like some slight rubber texture on the switch-gear, so I carefully taped it all off and gave it 5 or 6 very light coats of clear Plasti Dip Spray.

    Unfortunately, once it dried properly it looked a little too textured (and slightly frosted), so I pulled it all off again. 

    After that was done I gave the seats a few coats of Leatherique to keep them supple and reassembled everything.

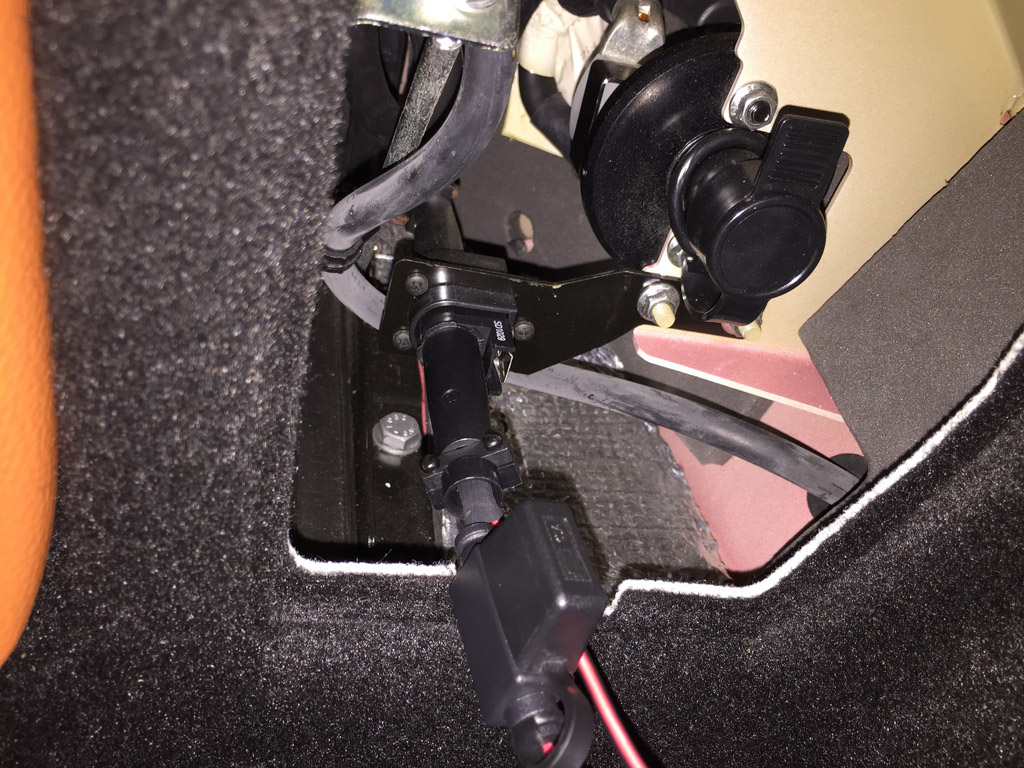
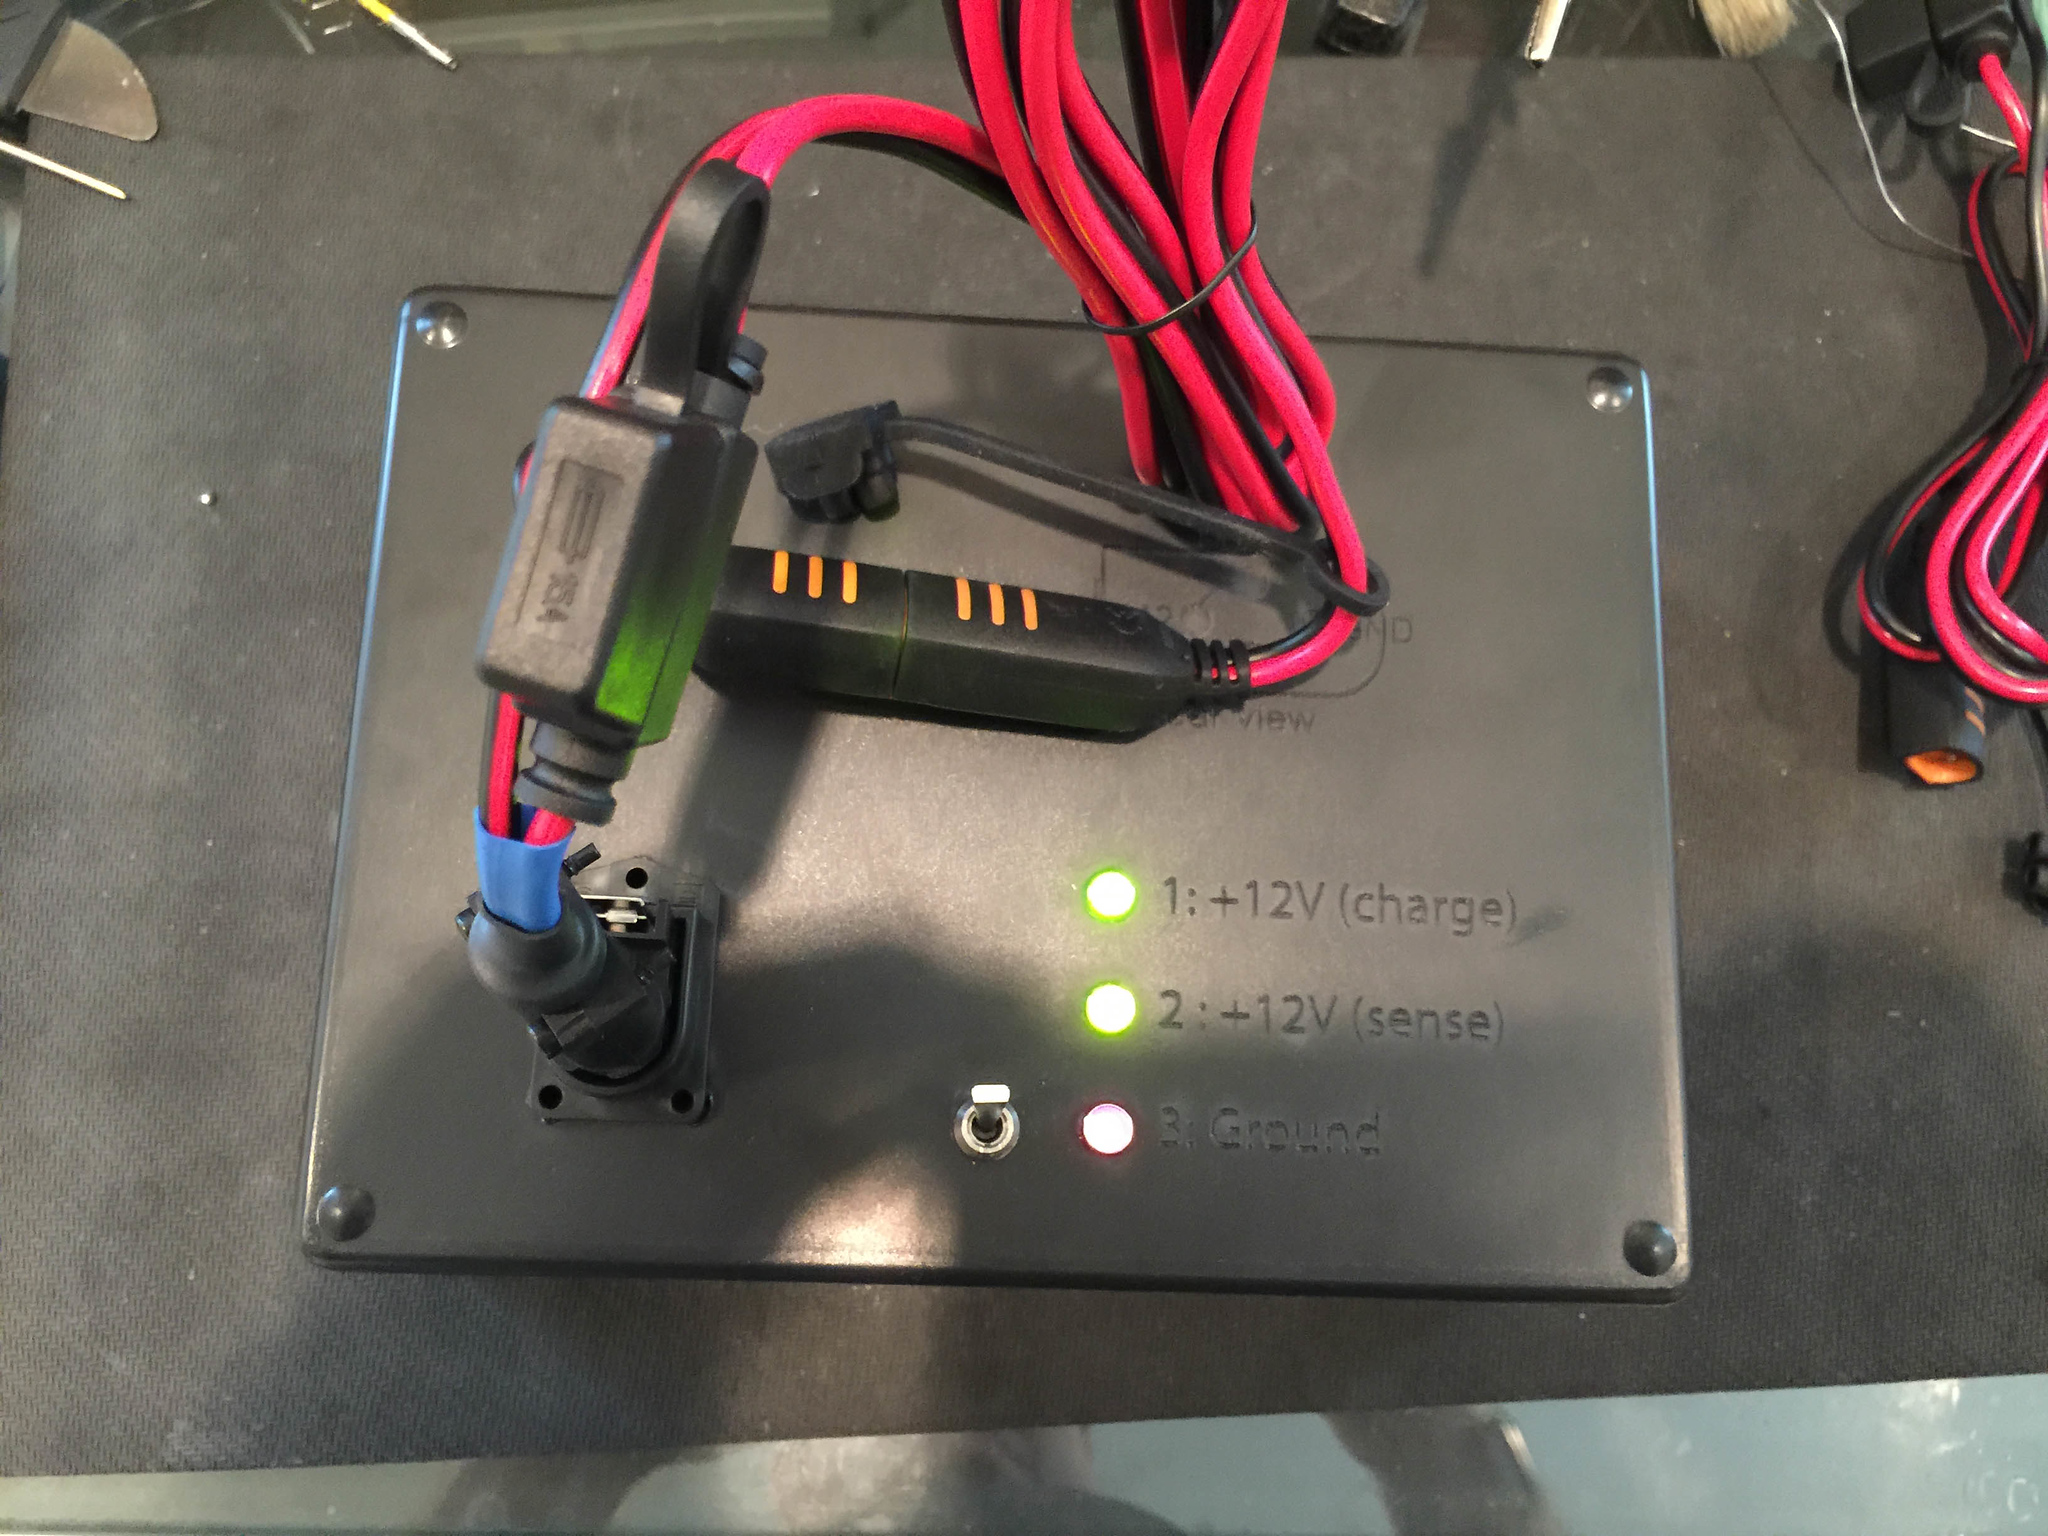
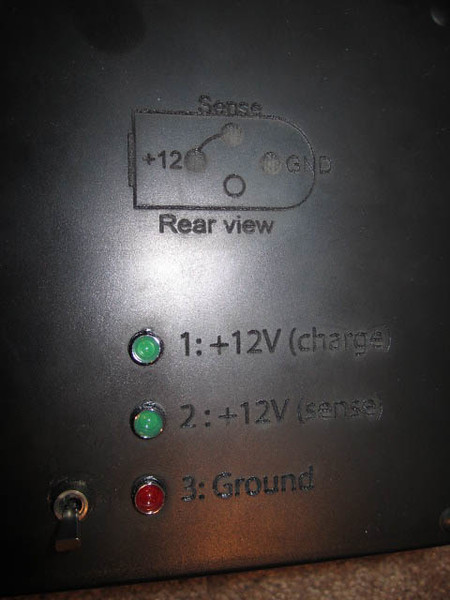
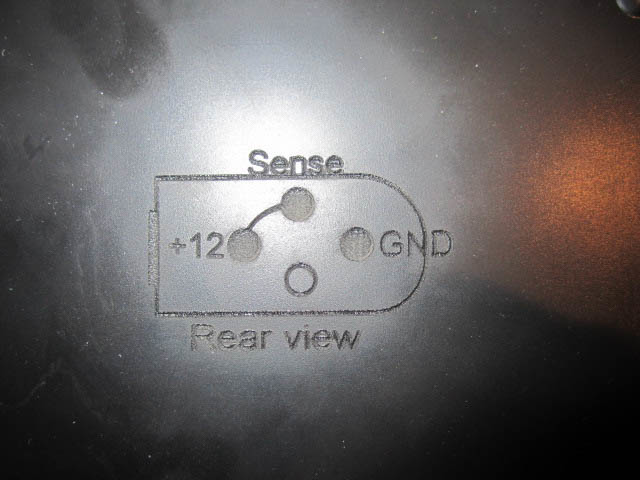
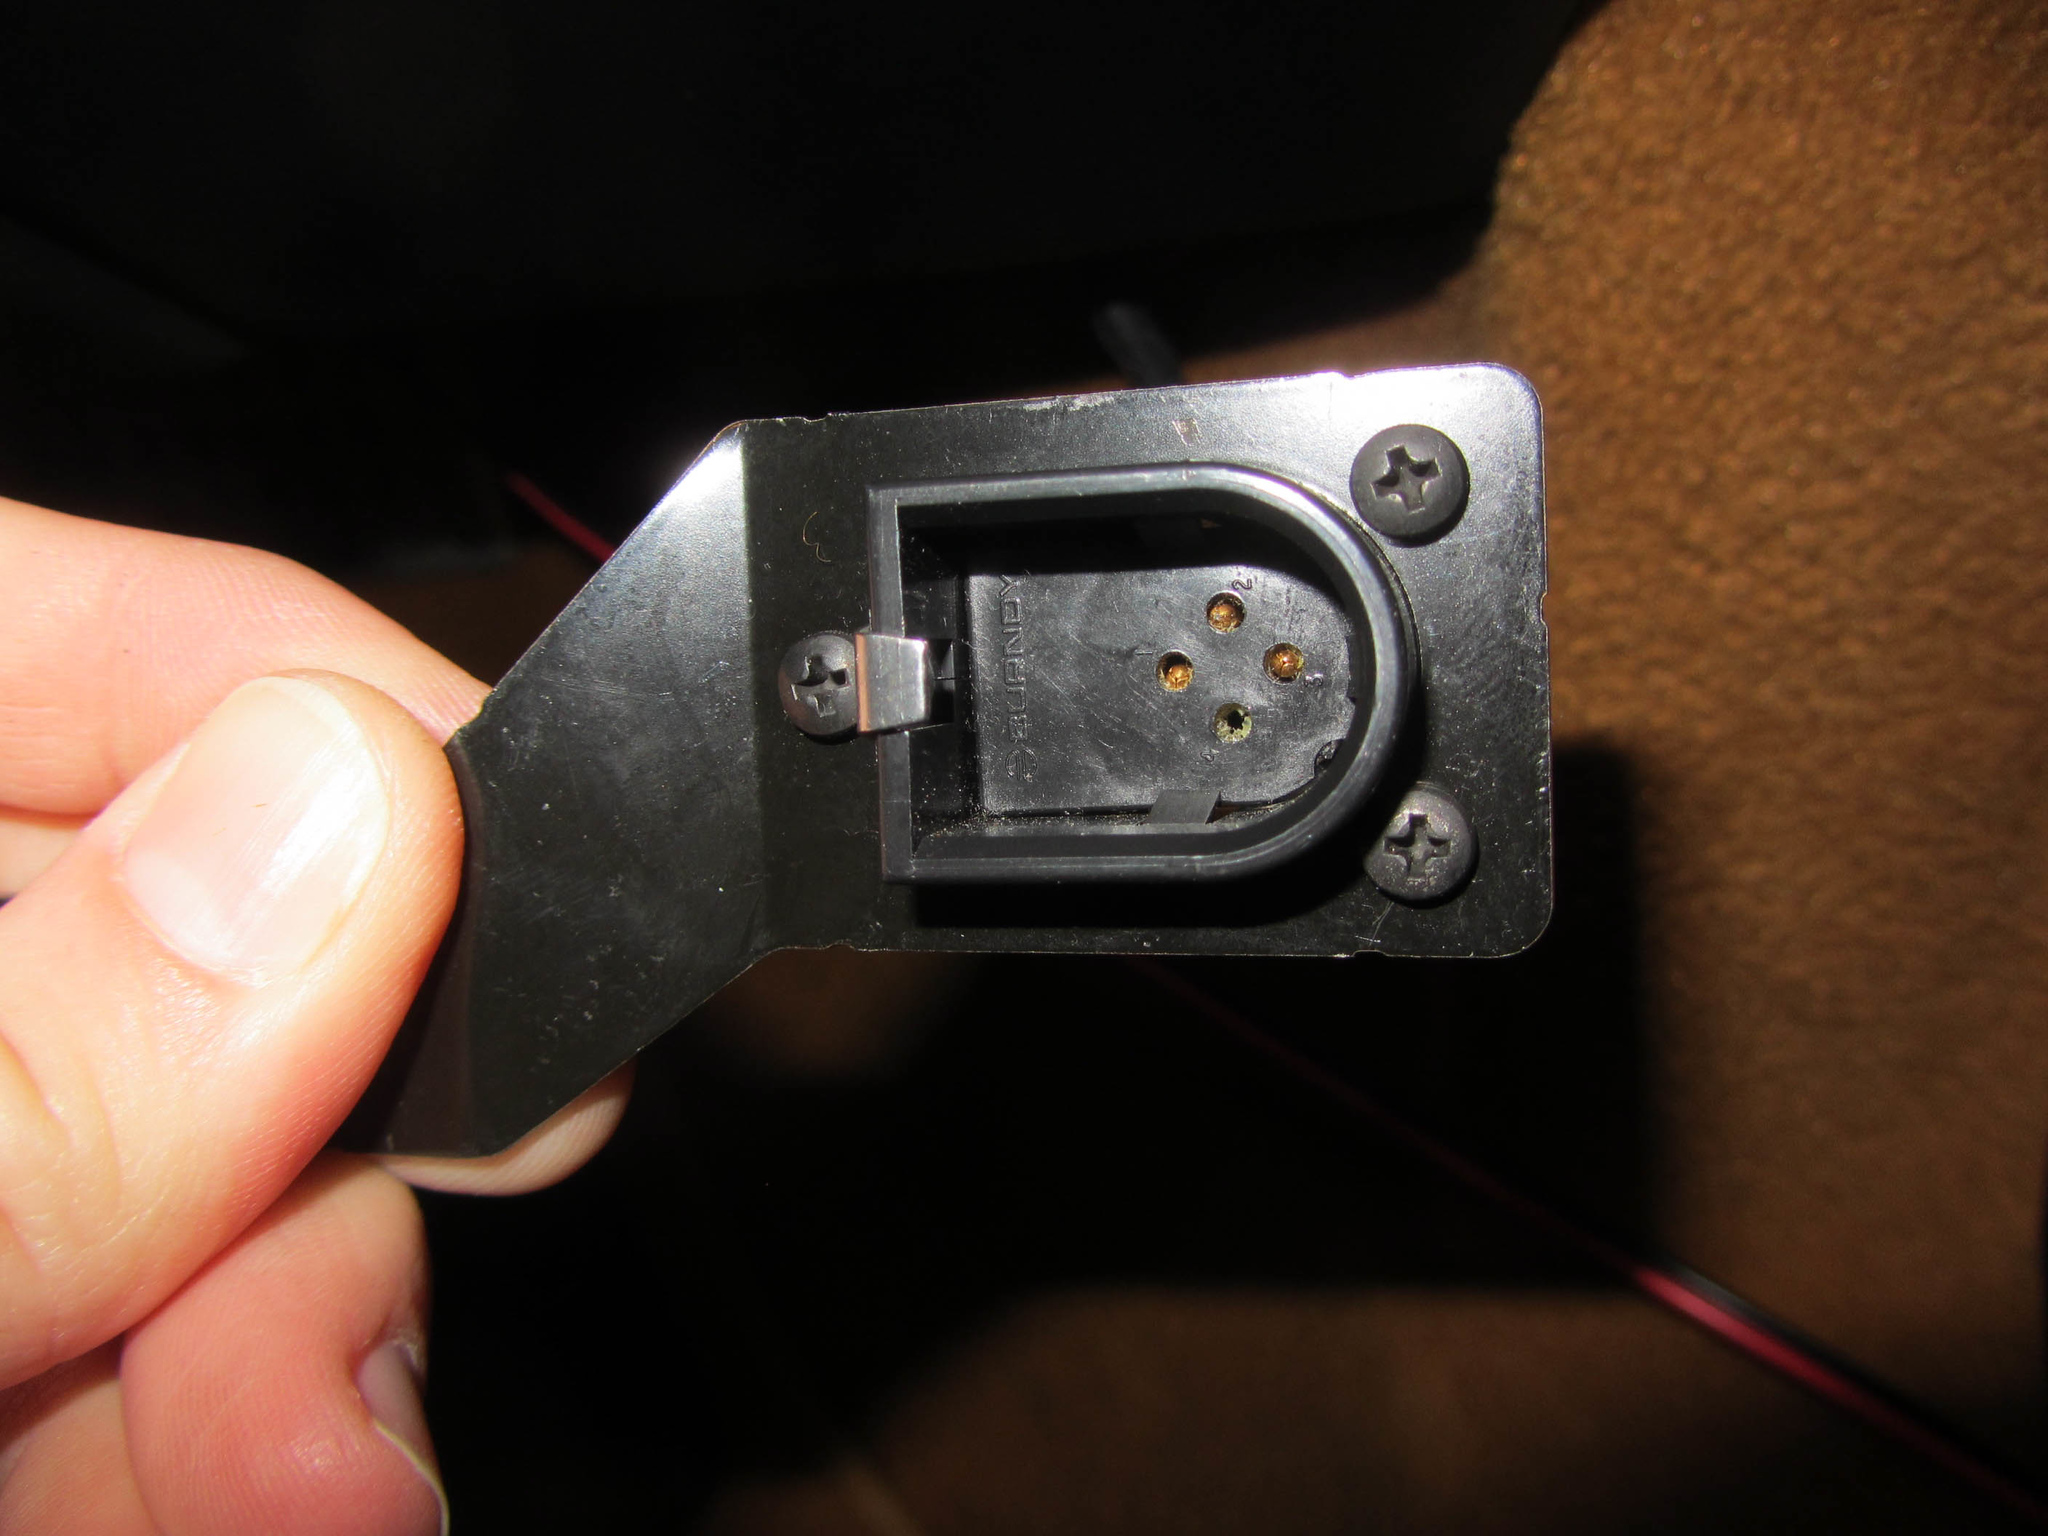
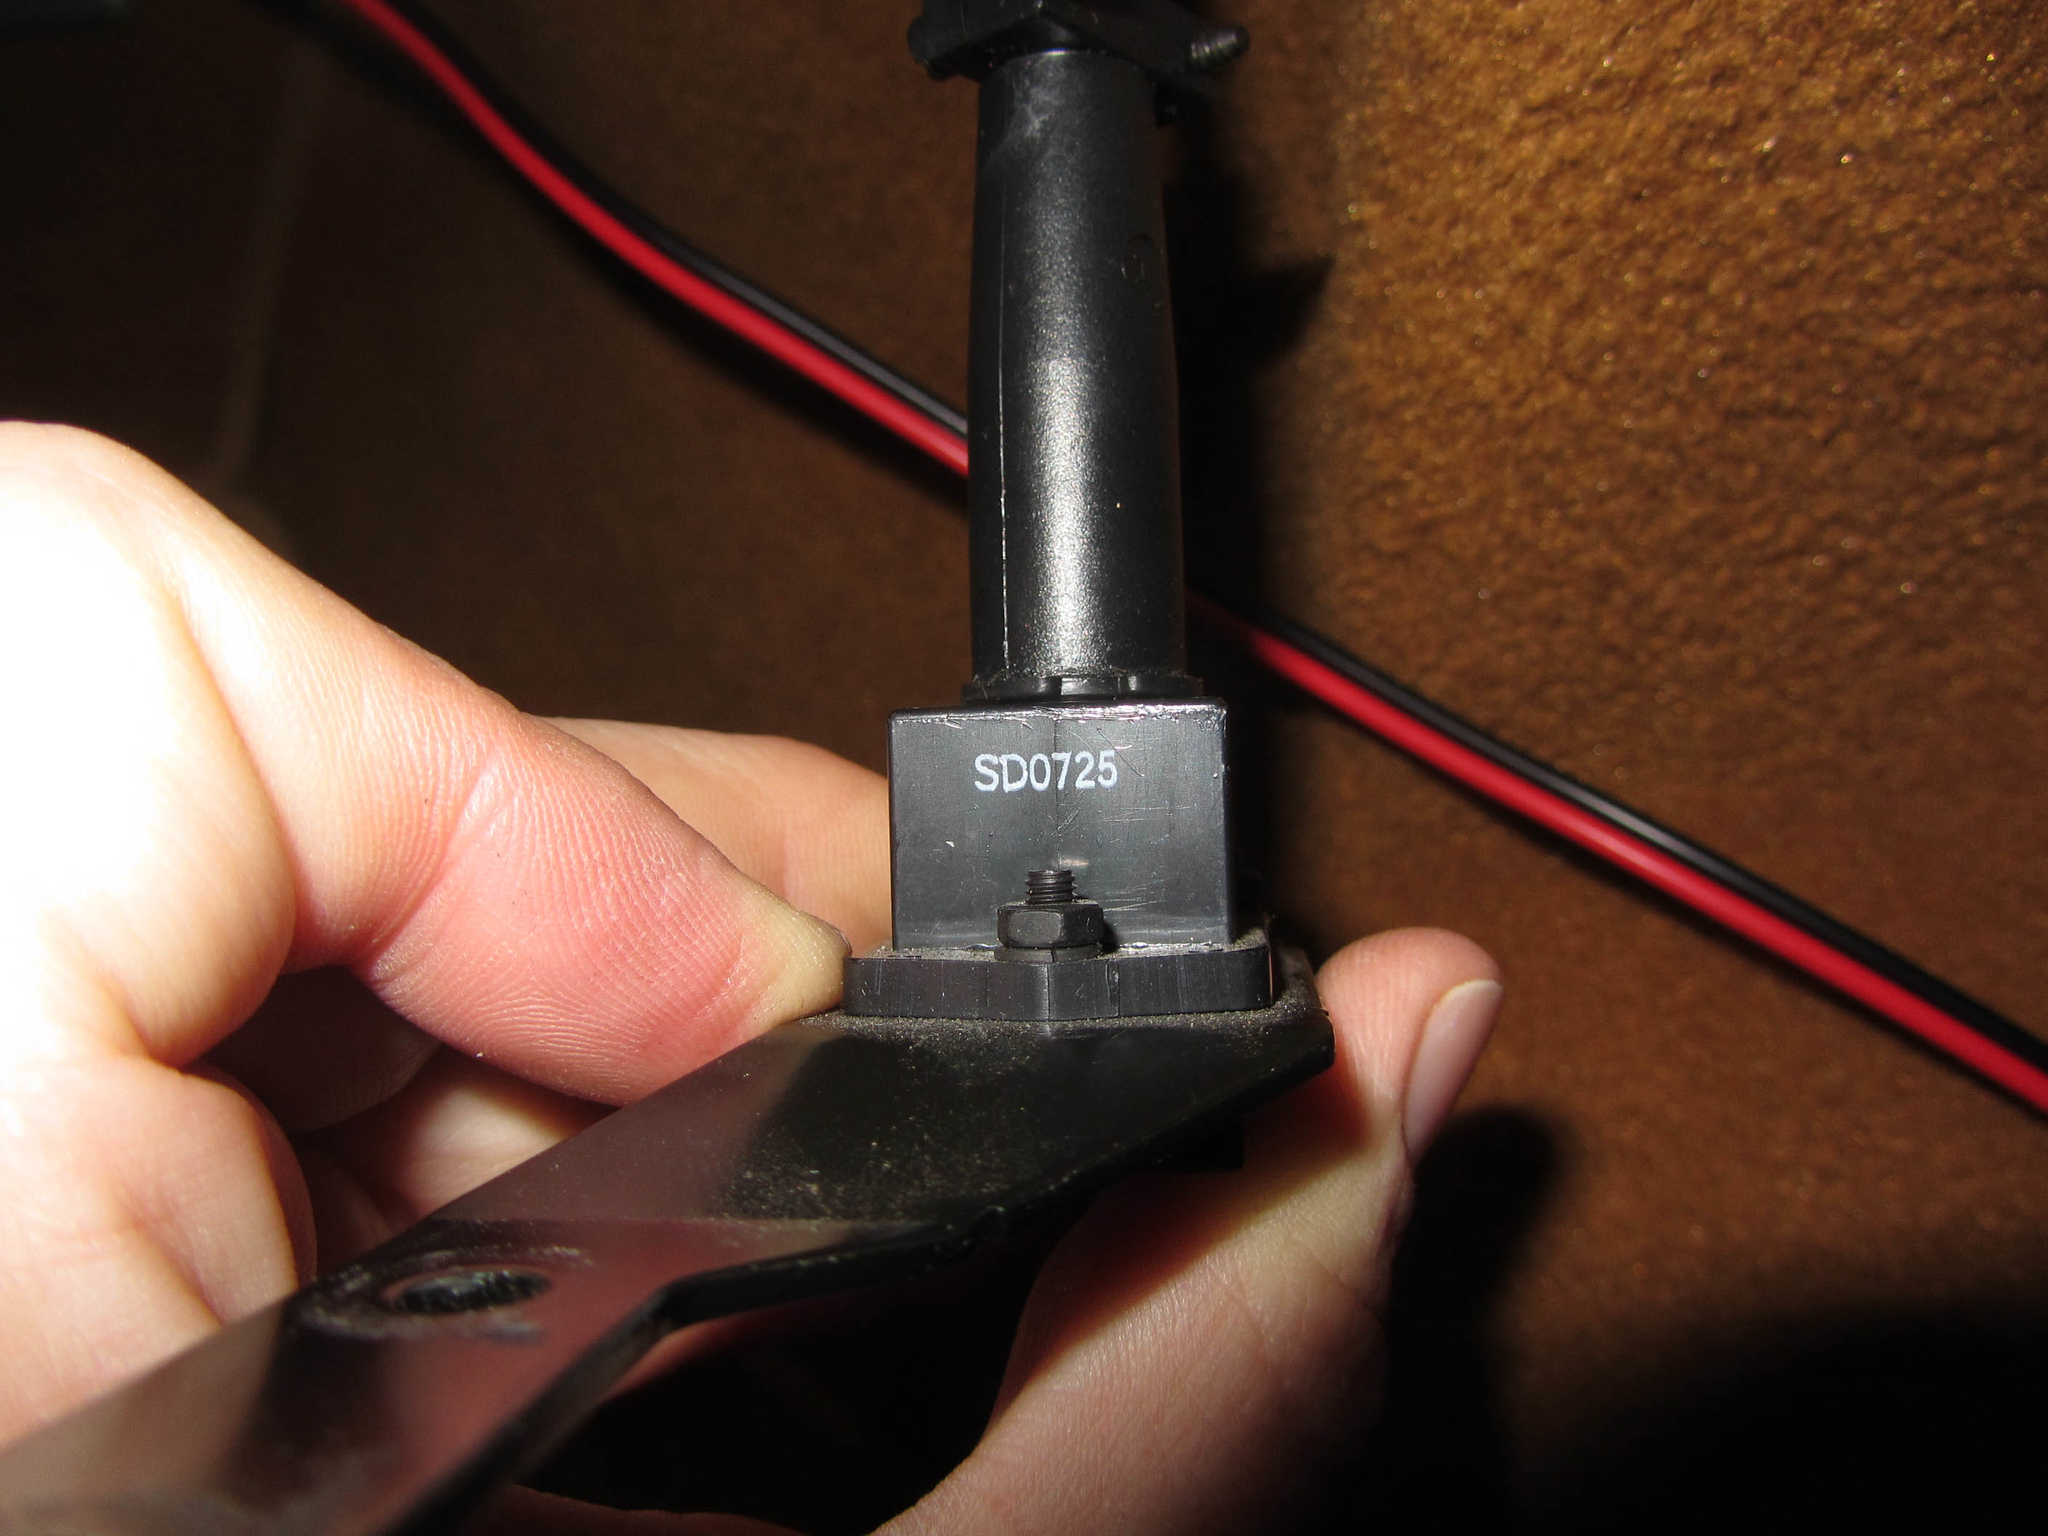
    A view of the lift system

  • Ferrari battery tender / charger cable

    Ferrari battery tender / charger cable

    A number of people have shown interest in making their own Ferrari battery tender / CTEK charge apapter cables (or just buying one – contact me for details if you’d like – warren@kumari.net), and so I’ve decided to update this old post.

    I recently replaced my F430 with a Ferrari 599GTB. I’d included the CTEK charger and adapter when I sold the 430, and so had to make a new cable.

    Unsuprisingly it uses the same pinout, and shows the charger connected icon on the LCD.

    15245822699 72626d9b5a o15429392911 896999d882 k15432246632 4291600ffd k

    I ended up also making a few cables for some friends with Ferrari 458, here is a picture:


    Seeing as I have now made a fair number of these cables, I figured it was worth making a test harness. I have now have access to a laser cutter / etcher and so made a pretty enclosure:

    Charger cable test harnessFerrari charger connector test unitLaser etchers are fun!

    More images: http://photos.kumari.net/Projects/Ferrarichargecables/


    Orginal page:

    Ferraris don’t much enjoy going out in the snow, and draw a fair amount when powered off. Low voltage conditions lead to all sorts of bizarre electronic gremlins including banks shutting down, weird ECU issues, corruption of the radio presents, check engine lights, etc. This means that keeping them connected to a battery tender when they will be sitting for a few weeks is a really good idea.

    The Ferrari F430 comes with a special connector in the passenger footwell, specifically for connecting a tender. This is useful because it light up a “Charger Connected” icon on the dashboard, and prevents starting the vehicle with the charger connected. Unfortunately the new Ferrari chargers (actually rebranded CTEK ones) do not come with the special connector, and the pinout is not documented anyway. 

    Initially I simply connected a charing pigtail directly to the battery, bypassing the builtin tender connector, but this lead to two issues:

    • I’d sometimes forget that the charger was connected, and start reversing with it still plugged in.
    • The fact that there was some functionality that I couldn’t access made me annoyed!

    So, eventually I decided that I had to figure out how to activate the charger connected lockout.

    After some time figuring out and tracing the Ferrari wiring diagrams in the F430 workshop manual I was able to determine that the connector in the footwell really was a tender connection. Of course, it used some odd connector that I’d never seen before, and so I had to remove it to try and figure out both the connector, and, more importantly, the pinout.

    The connector is made by Burndy (now part of Souriau) but finding exactly which one of the thousands of connectors that they make took a fair bit of time — eventually found that it is part of the BANTAMATE II 5000 series, MBG4R1 for the female and MBG4P1 for the male. It uses the Souriau “Trim-Trio” contacts.

    After a bit of tracing cables and fiddling with a multimeter I was fairly sure that Pin 2 has to be raised to +12V to activate the charger connected lockout. I built a cable with a few resistors (in case I was wrong I didn’t want to draw too much current and kill the ECU) and a switch. I plugged it in, and flipped the switch. There was a reasonably loud click and the charger connected icon came on on the instrument cluster


    I then took another CTEK cable, cut off the (crocodile clip) ends and crimped on the Trim-Trio contacts.

    The Pinout is as follows:

    • PIN_1: +12V (charge)
    • PIN_2: +12V (sense)
    • PIN_3: Ground
    • PIN_4: Not connected.

    Unfortunately the strain relief boots (MBG4S1) were backordered at Allied, Mouser and DigiKey and so the cable is not as pretty as it could be (eventually they came back in stock, but I couldn’t be bothered to remove the pins to install it!).

    Some photos of the completed cabe:

    More photos in an album, here: http://photos.kumari.net/Projects/Ferrarichargecables/